Invoicing
UltraThe invoicing module lets you issue invoices to clients, send e-Factura to ANAF and automatically receive invoices from suppliers. It's available with the Ultra plan. In the sidebar you'll find the Invoices group, with Issued and Received.
#Setting up the invoicing module
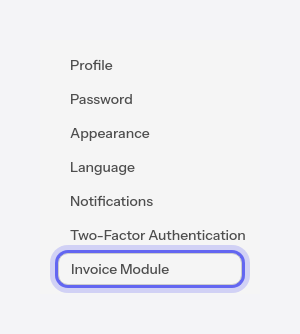
Before your first invoice, you go through a setup wizard once. You open it from Settings > Invoicing module.
Or directly from the issued invoices page: as long as setup isn't complete, a message there takes you straight into the wizard.

The wizard walks you through a few simple steps.
#Step 1 — Start
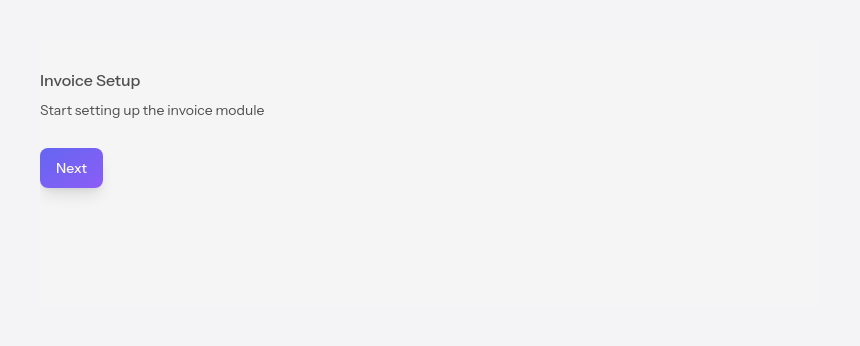
The first page tells you what's coming. Press Next to begin.
#Step 2 — Company details
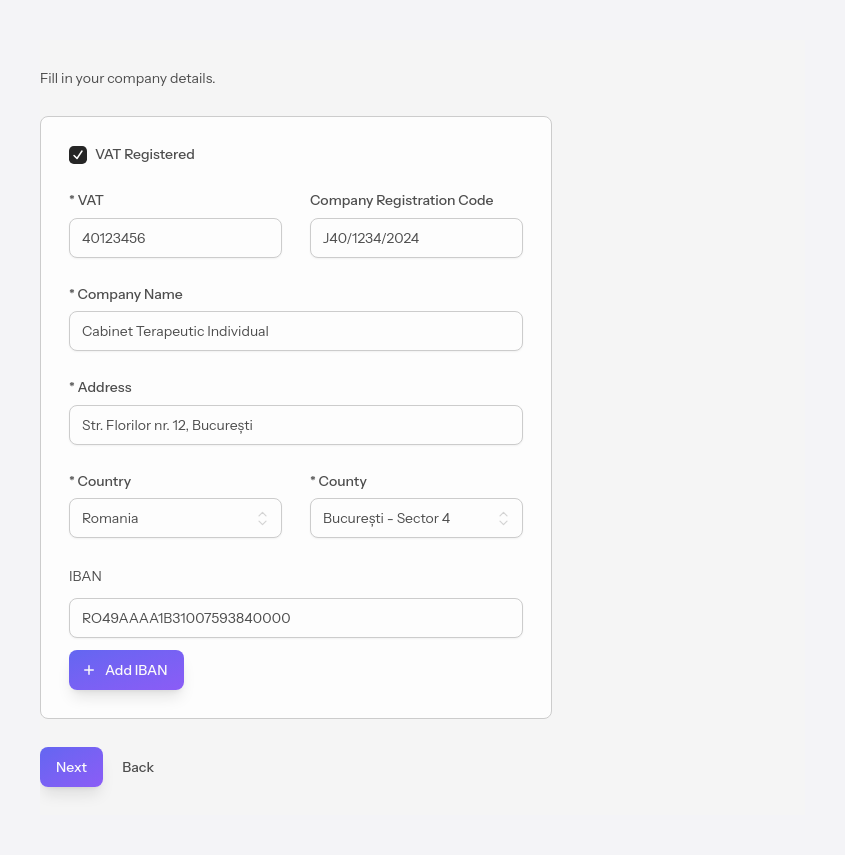
Fill in the company details that will appear on invoices. When you enter the CUI of a Romanian company, the app automatically queries the ANAF registry and fills in the rest by itself — name, address, registration code, county and VAT-payer status. There's no separate "fetch" button: it happens as you type the CUI. Here you can also add one or more IBANs.
#Step 3 — Invoice series
Choose a series (the invoice number prefix — usually 3-4 letters) and a validity date, then press Next.
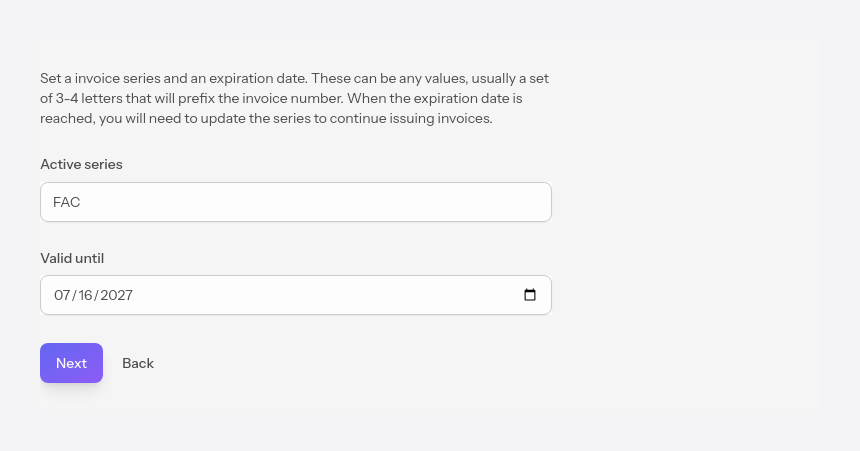
The series has a validity date. When it expires, issuing new invoices is blocked until you set a new series. Alternatively, if you want to use a single series forever (not recommended), you can set a year far in the future, such as 2100.
#Step 4 — Connecting to ANAF
To send e-Factura directly to ANAF, authenticate with your digital signature (the token). Press Connect and follow the steps on the ANAF page. This step is optional — with Connect later you can skip it.
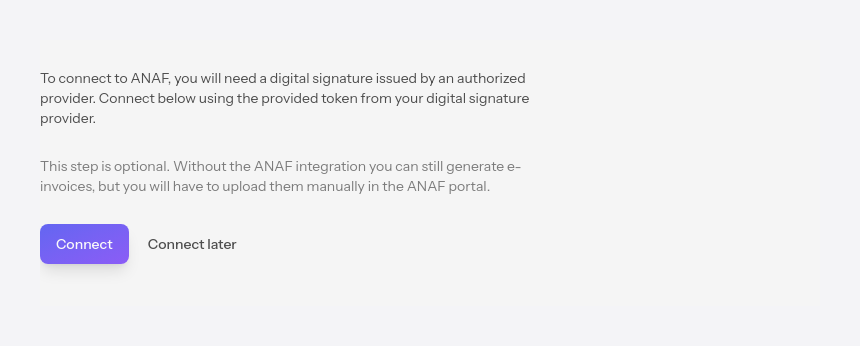
If for various reasons you get an error from ANAF that the connection could not be made, close the browser completely and try again. It's important to check that there are no more browser instances open in other windows or tabs.
Without connecting to ANAF you can generate the e-Factura (XML and PDF), but you'll have to upload it manually on the ANAF portal.
#Step 5 — Done
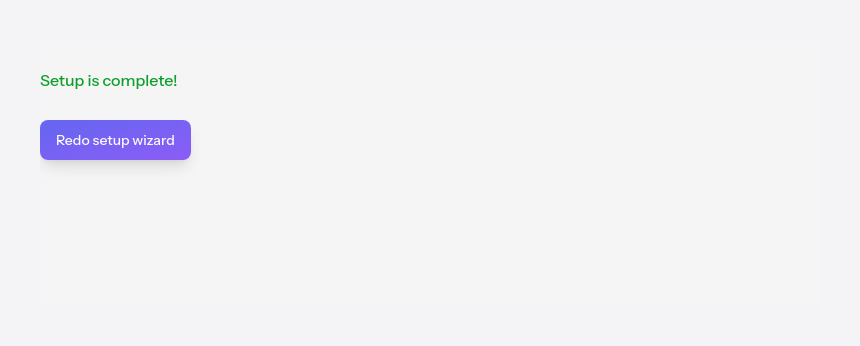
Setup is complete and you can start issuing invoices. If you skipped the ANAF step, here you'll find a connect button, plus a Redo setup option if you want to run the wizard again.
#Issued invoices
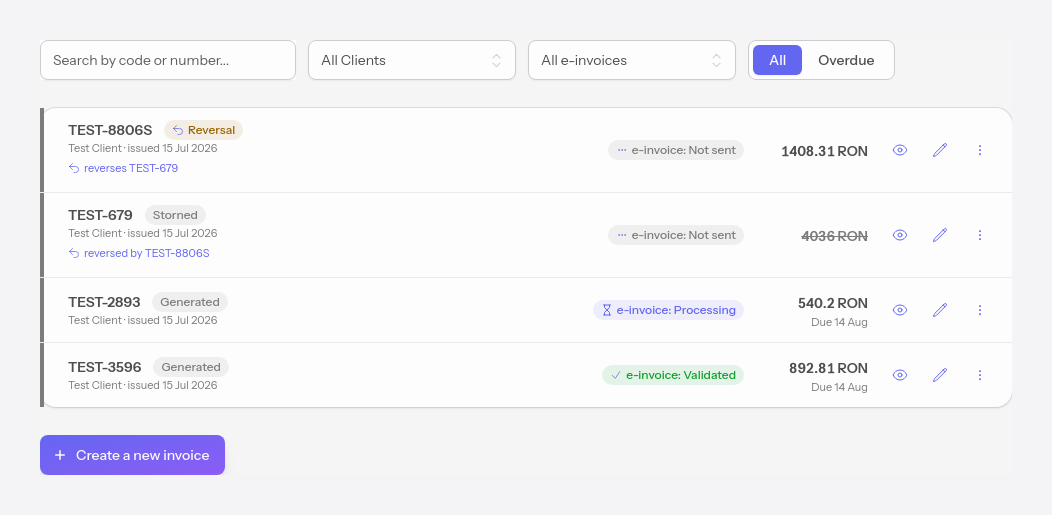
The Issued page lists all the invoices you've issued. You can search by number, filter by client or by e-Factura status, and toggle between all invoices and outstanding ones.
#Status
Each invoice has several statuses, independent of one another: after sending, after payment and — for Romanian companies — after the e-Factura status.
#By sending status
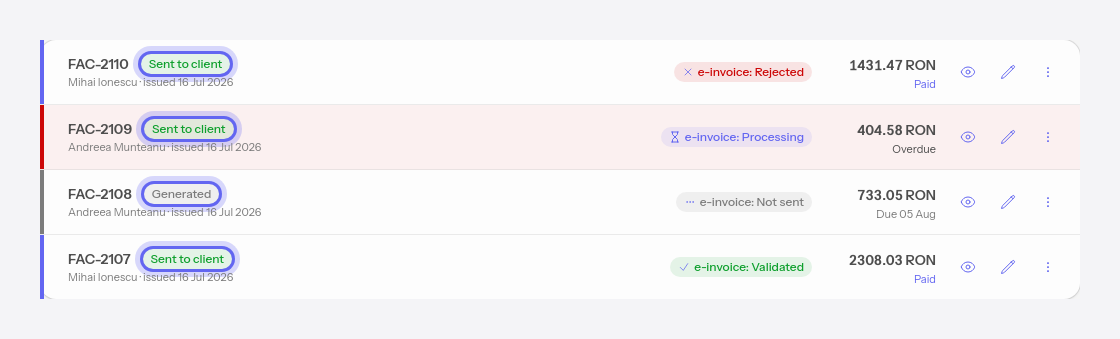
A newly created invoice has the Created status: it has been generated, but not yet sent to the client. After you send it by email, it moves to Sent to client.
#By payment status
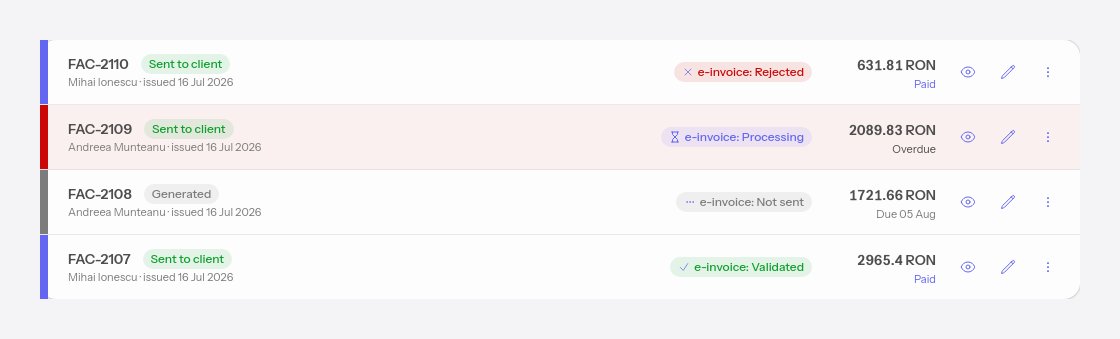
The payment status is indicated by the color of the vertical bar on the left of each invoice: blue for paid, red for overdue (the due date has passed and the invoice still hasn't been paid) and gray for those still unpaid (due on a date). The same information also appears, as text, under the amount.
#By e-Factura status
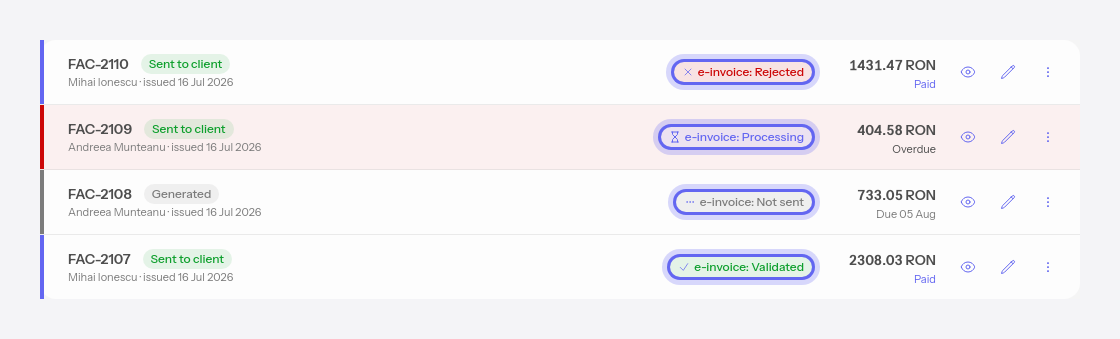
For Romanian companies, each invoice also has a pill with the e-Factura status at ANAF: Not sent, Processing, Errors, Rejected or Validated. The pill updates by itself: Processing means ANAF has received the invoice and is checking it; Validated means it was accepted; Rejected or Errors means it needs to be corrected and resent.
#Preview
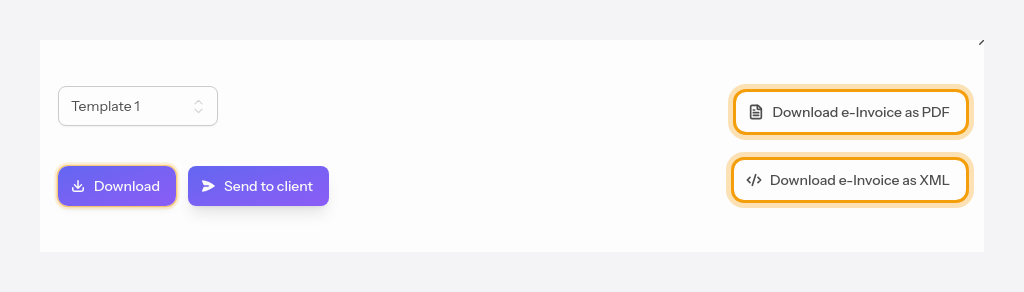
Press the preview icon (eye) to see the invoice as a PDF, in a window. You can choose from several templates. From here you also download the invoice or send it to the client.

#Download
From the preview you download the invoice as a PDF with Download. For Romanian companies with e-Factura, you can also download the e-Factura as a PDF or as XML.
#Send to client
Also from the preview, Send to client sends the invoice to the client's email, with an optional message. After sending, the invoice moves to the Sent to client status.
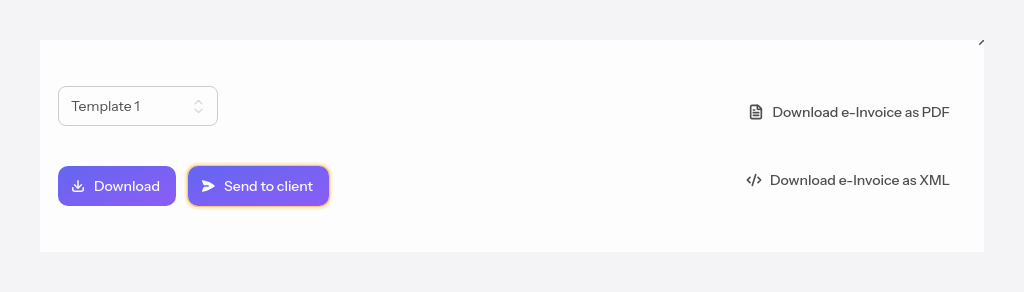
If the client has no email address, the send button is disabled.
#e-Factura actions
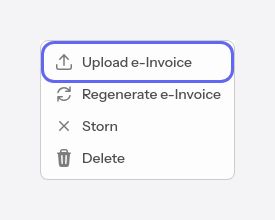
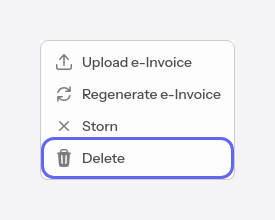
For Romanian companies, e-Factura is managed from the invoice's actions menu (the three dots).
#Upload e-Factura
Upload e-Factura validates the XML and sends it to ANAF. If it passes validation, the status becomes Processing, and the app automatically checks the ANAF response and moves the invoice to Validated or Rejected.
#Regenerate e-Factura
Regenerate e-Factura rebuilds the invoice's XML file from the current data. It sends nothing to ANAF — it only remakes the local file.
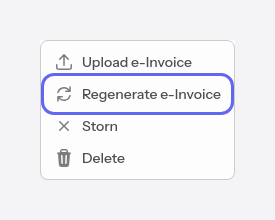
When you edit an invoice, the e-Factura updates automatically — you don't need to regenerate it. Regenerating is only useful when data outside the invoice has changed, for example your company's details or the client's details, and you want those changes to appear in the e-Factura as well.
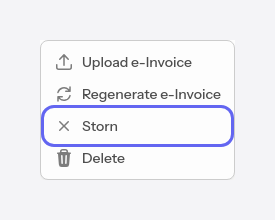
#Reversal
A reversal is the correct way to cancel an already-issued invoice, especially one sent to ANAF. From the actions menu, Reverse creates a new invoice, with the same data but with negative values, linked to the original one. The original shows up Reversed and struck through, and the new document is marked as a Reversal.
#Deletion
From the actions menu, Delete removes the invoice permanently. You can't delete an invoice that has been reversed or whose e-Factura is processing or validated at ANAF — in those cases use reversal.
#Received invoices
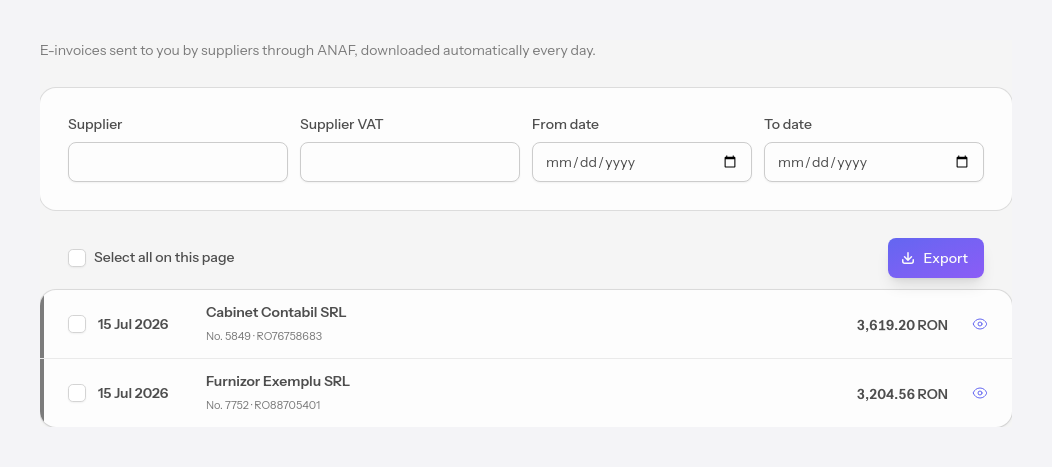
The Received page lists the invoices your suppliers have sent you through ANAF's e-Factura. The app downloads them automatically every day. You can filter by supplier, CUI or time range and preview each invoice.
#Preview
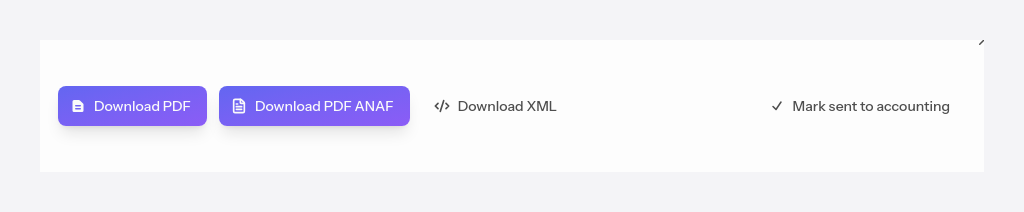
Press the preview icon (eye) to open a received invoice. From here you see it in detail and have the actions for it at hand: you download it as a PDF (generated by the app), as an ANAF PDF or as XML, and you can mark it as sent to accounting.
#Send to accounting
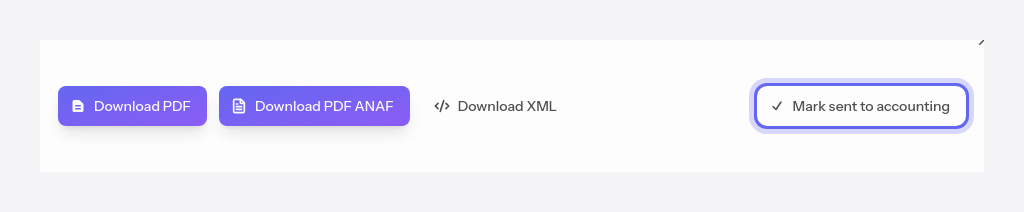
From the preview, Mark sent to accounting keeps track of the invoices you've already handed over to your accountant. It's just a tracking label — the actual handover you do through the exported archive. Marked invoices get a green dot.
#Export
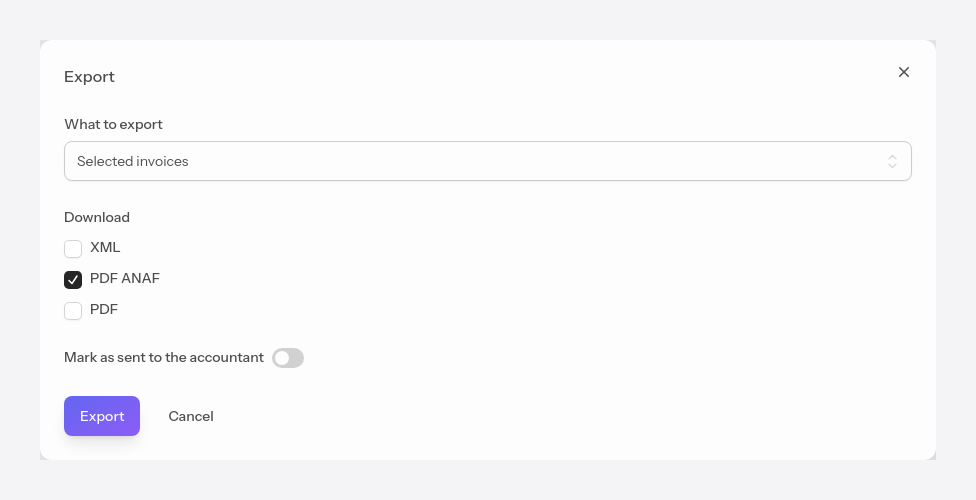
Export gathers the received invoices into a single ZIP archive, for your accountant.
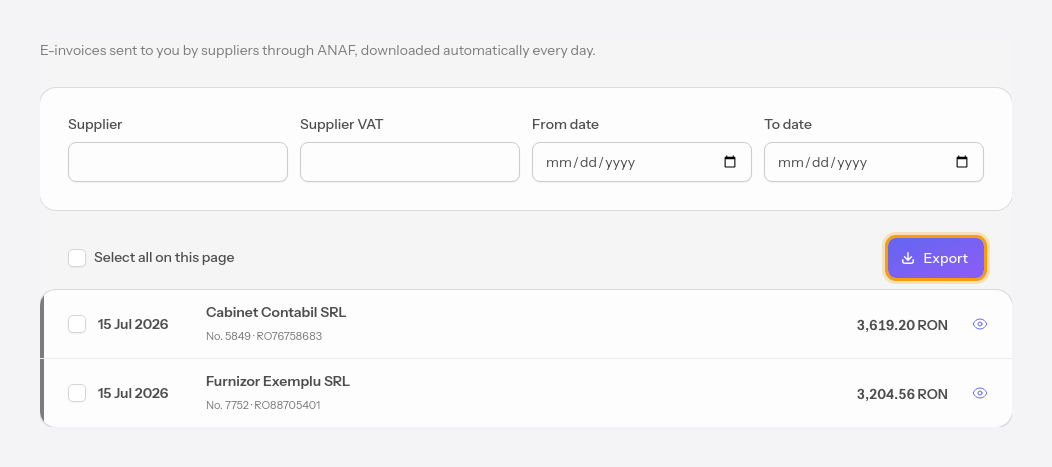
In the export window you choose what to include — the selected invoices or a time range — and which files (XML, ANAF PDF or app-generated PDF).